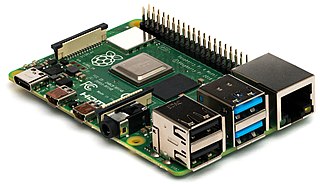
Photo credit: Michael Henzler
Wikimedia Commons, CC BY-SA 4.0
The Raspberry Pi for basic Networking services series:
In previous articles, I described how to set up a Raspberry Pi computer to act as a DHCP server and how to configure it to serve static IP addresses. But this is only half of the solution.
If all your computers are only used to access Internet sites, then you may not need anything more, but if you run any services on your LAN, you will want to access them as well as Internet services. Some examples of services I run on my LAN include:
- Printer. My printer has a built-in Ethernet interface and acts as a print server for the entire LAN.
- Web server. Two of my computers are running web server software. I use these for documents that I want to make available to all the computers in my home. In the past, when I ran an Internet-accessible web site, I used my local web servers as a staging area for changes before uploading them to the main server.
- File servers. Several of my computers have file sharing enabled so I can copy files between my computers.
- Remote access. Several computers run different remote access tools including SSH, VNC, X2Go and others. This lets me access everything from anywhere in the house.
When accessing a remote service, you need to provide the machine's name or IP address. If you've got a small LAN, you can just type in the address. Or you can set up hosts files on your computers to assign names to the addresses. But once you get more than a trivial number of devices on your network, those two solutions quickly become unmanageable. As I wrote in part 1, I've got 26 active devices on my LAN and many more that are rarely used. Using hosts files really doesn't work because every computer needs to be updated whenever the content changes and some devices (especially embedded devices like set-top boxes and mobile phones) don't even have a hosts file that can be managed.
But there is a well-established solution to the problem. The solution is to use the DNS protocol.
